When creating a Deduplicate Job you can use several filters, such as the Deduplicate Job Filter, the Object Filter for Auto Merge or Auto Convert, or the Duplicate Group Filter for Auto Merge/Convert. Particularly in large data volumejobs, using filters can speed up the duplicate search process tremendously.
This article explains more about these filters and how to use them.
Deduplicate Job Filter
Auto Merge/Convert Filters
Predefined Filters
Deduplicate Job Filter
The Deduplicate Job Filter lets you decide which records should be checked for duplicates. First you select an Object to check, e.g. Lead, and then you add a filter to narrow the search down further.
For example, create a Deduplicate Job to find duplicate Leads from the United States only. Or, only compare the Leads that were created today with all other Leads. This improves the speed of the duplicate search.
Set up a one-time filter in the New Job modal, or apply a Predefined Filter.
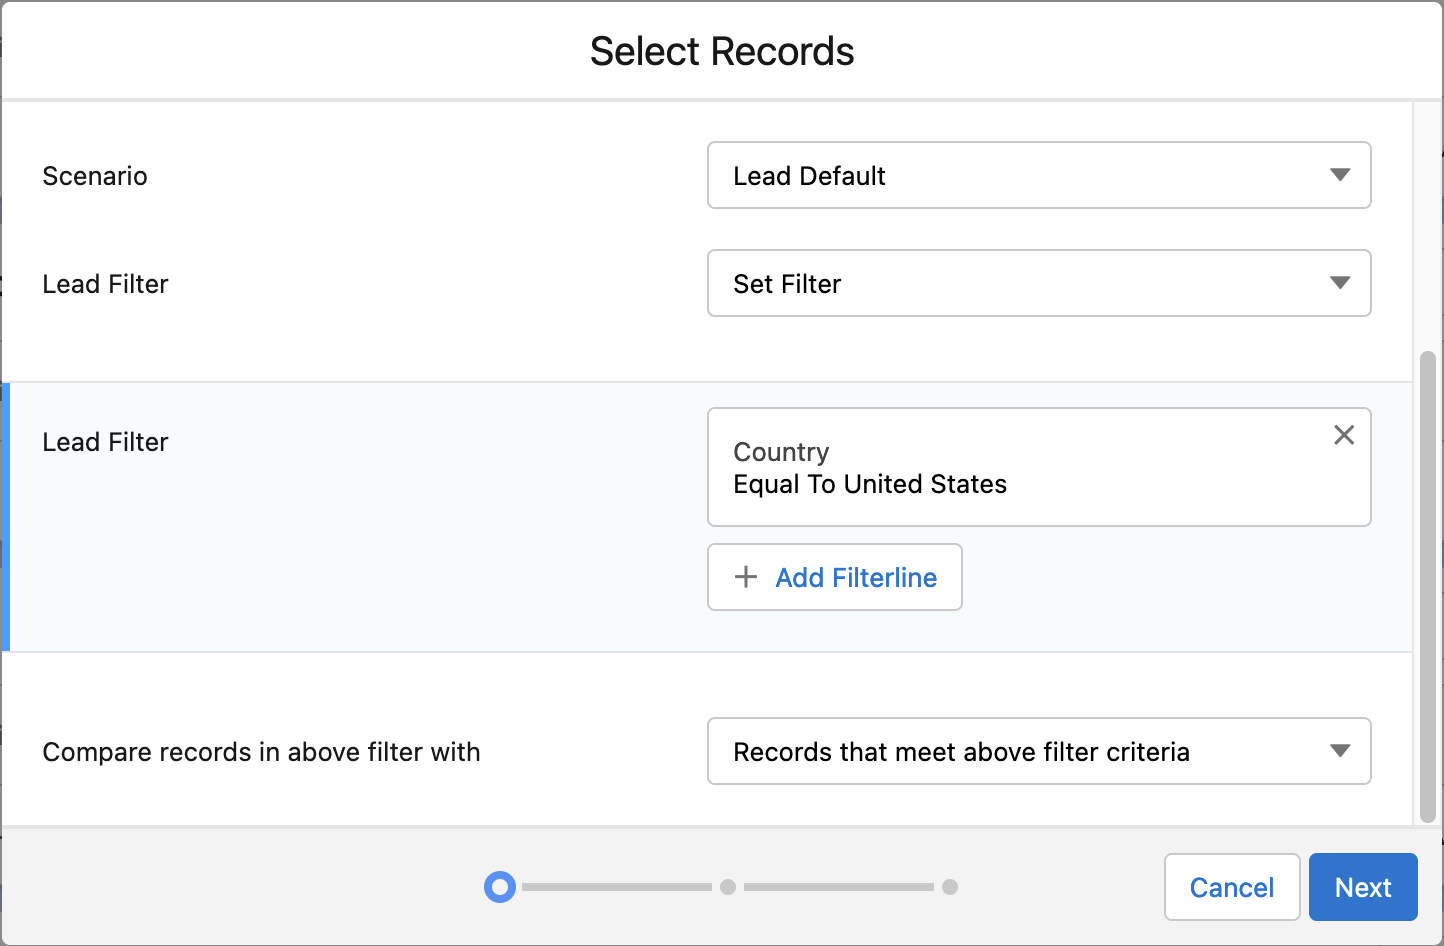
Configuring the Deduplicate Job Filter
Create a new Deduplicate Job. In step 1. 'Select Records', first add an Object and a Scenario. Then,
- Click + Add Filter.

- At <Object> Filter, select a filter option.
- Use "Set Filter" to configure a one-time filter for this job.
- Use "No Filter, Process all Records" to remove the filter option.
- If you see more filter options, then these are your Predefined Filters: reusable filters that you can use here as well. These need no further configuration, simply click to select one.
- To configure the filter, click + Add Filterline.

- Select a Field to filter on, and add an Operator and a Value.
For filtering on Record Type: at Field, select 'Record Type ID'. As the Value, enter the Record Type Label. - Click Done.
You can add one or multiple filter lines. If needed, define the dependency of multiple filter lines with Filter Logic. If you do not add filter logic, all filter lines will be taken into account, i.e. "Filter 1 AND Filter 2 AND Filter 3".
- For multiple filter lines, click + Add Filter Logic.
 (optional)
- Use the numbers in front of the filter lines to define the relative logic. For example, enter 1 AND (2 OR 3) to state that a record should meet filter line 1, and either filter line 2 or filter line 3.
As long as the filter logic is incomplete or incorrect, this will be highlighted in red.
Then, define what the records from the filter should be compared with.
- At Compare records in above filter with, select a compare option.
- Use "Records that meet above filter criteria" to compare the filtered records only with each other (default).
- Use "No Filter, Process all Records" to compare the filtered records with all other records of the selected object.
- Use "Set Filter" to compare the filtered records with a different subset of records. Configure a second filter for this subset.
- If you see more filter options, then these are your predefined filters. Use a predefined filter to compare the filtered records with a predefined different subset of records. These need no further configuration, simply click to select one.
If you used a Cross Object, you always compare the filtered records with records from the Cross Object. Instead of "Compare records in above filter with", you have a <Cross Object> Filter with the same compare options.
Examples
1. Compare filtered records only with each other
Say you only want to compare records from the United States.
- Set up the first filter to state "Country equal to United States."
- At Compare records in above filter with, select "Records that meet above filter criteria".
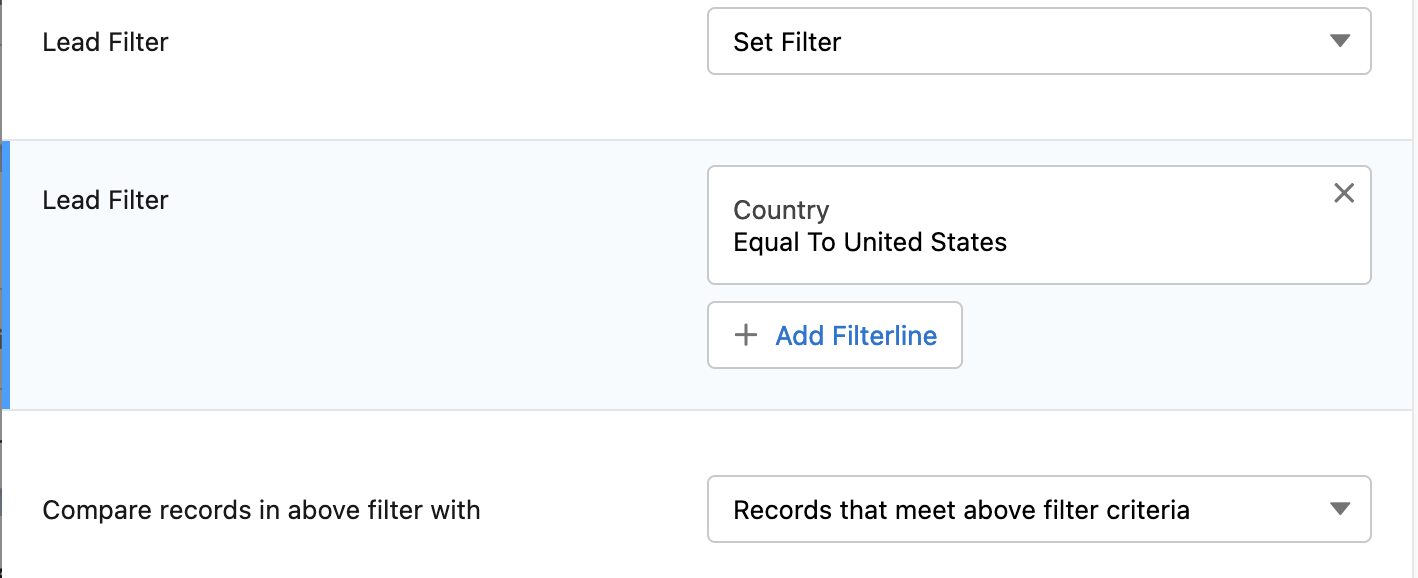 Compare records where (Country = United States) with records where (Country = United States).
2. Compare filtered records with all records
In some cases, it makes perfect sense to compare a subset of records with all records. A great use case for this is, after you deduplicated your legacy data, to run (scheduled) jobs that only take into account records that were created in the last few days with the entire dataset. That way, you don't have to run large batch jobs, and you still get the desired results.
- Set up the first filter to filter on a relative date with a Date Literal. For example, use "Created Date Date Literal Equals LAST_N_DAYS:3" to only use records created in the past 3 days plus today.
- At Compare records in above filter with, select "No Filter, Process all Records".
Run this job manually, or Add a Schedule in the next step to automatically run the job at a set interval.
 Compare records where (Created Date = LAST_N_DAYS:3) with All records.
3. Compare filtered records with a different subset of records
This option lets you, for example, compare records from company "Starlight" with the records from company "Moonlight" - two different subsets of records, so you set up two filters. Do take care that the scenario you use in this job does not match heavily on the filter field, else no duplicates will be found.
- Set up the first filter to state "Company equal to Starlight."
- At Compare records in above filter with, select "Set Filter".
- Set up the second filter to state "Company equal to Moonlight."
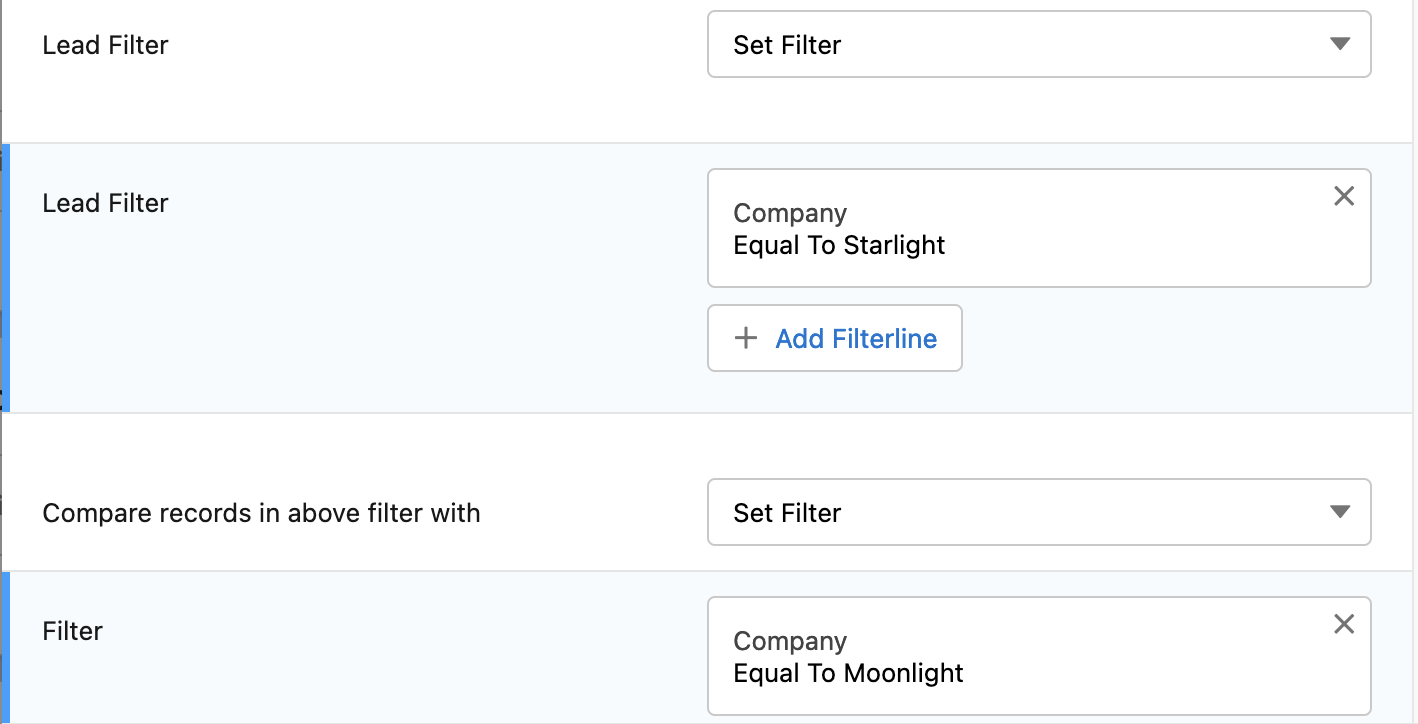 Compare records where (Company = Starlight) with records where (Company = Moonlight)
4. Compare filtered records with records from the Cross Object.
If you used a Cross Object, you compare the filtered records with a subset of records from the Cross Object. For example, only compare Lead records from Australia with Contact records from Australia.
- Set up the first Object filter to state "Country equal to Australia."
- At Compare records in above filter with, select "Set Filter".
- Set up the second, Cross Object filter to state "Country equal to Australia."
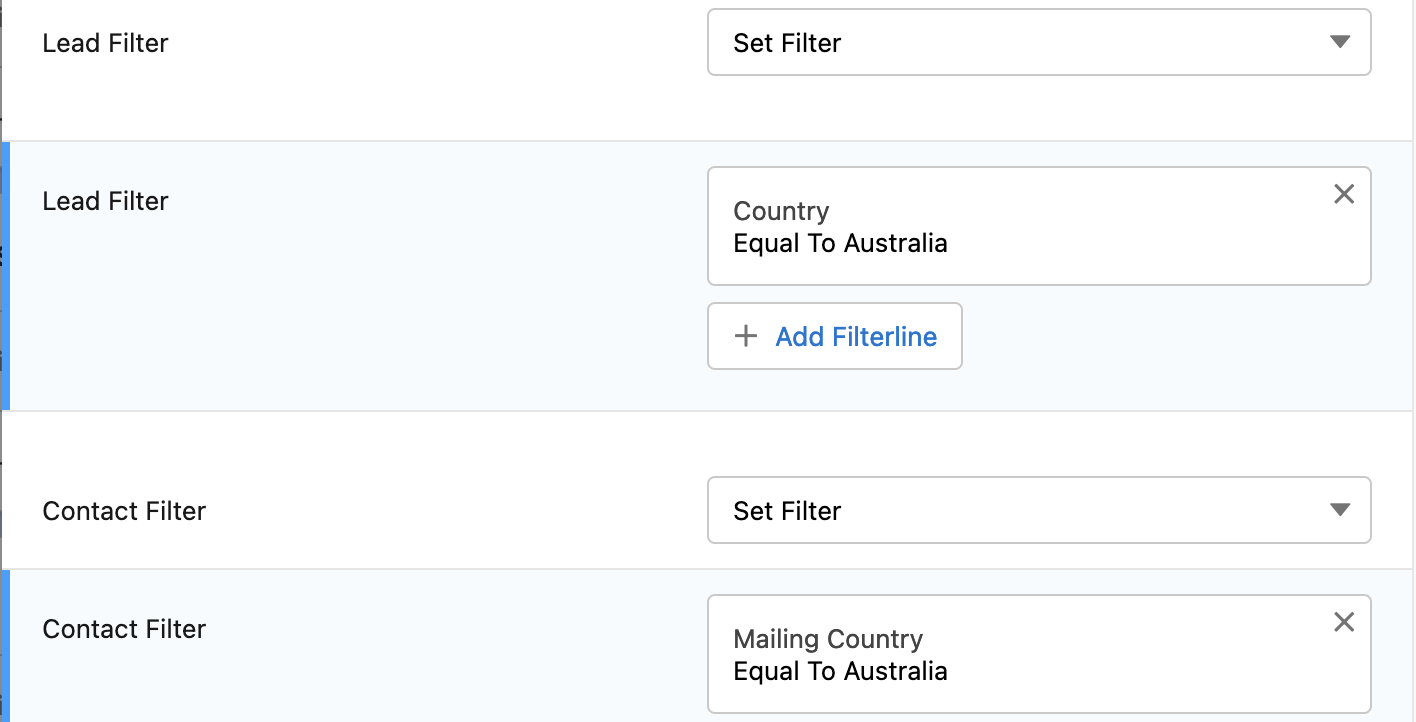 Compare Lead records where (Country = Australia) with Contact records where (Country = Australia).
Auto Merge/Convert Filters
When creating a Deduplicate Job, in step 2. 'Job Options', and after running a Deduplicate Job, in the Job Options select menu, you can choose to Auto Merge or Auto Convert duplicate records automatically. As this is an automated process, and merging or converting records cannot be undone, you might want to Auto Merge or Convert only specific records. Next to the Auto Merge/Convert Threshold, you can add an Object Filter and a Duplicate Group Filter (both optional) to narrow down the records for Auto Merge or Auto Convert.
The Object Filter defines which duplicate records will be automatically merged or converted.
The Duplicate Group Filter defines which duplicate groups will be automatically merged or converted. This is often used to auto-merge or auto-convert those duplicate groups that only contain two records, not more.
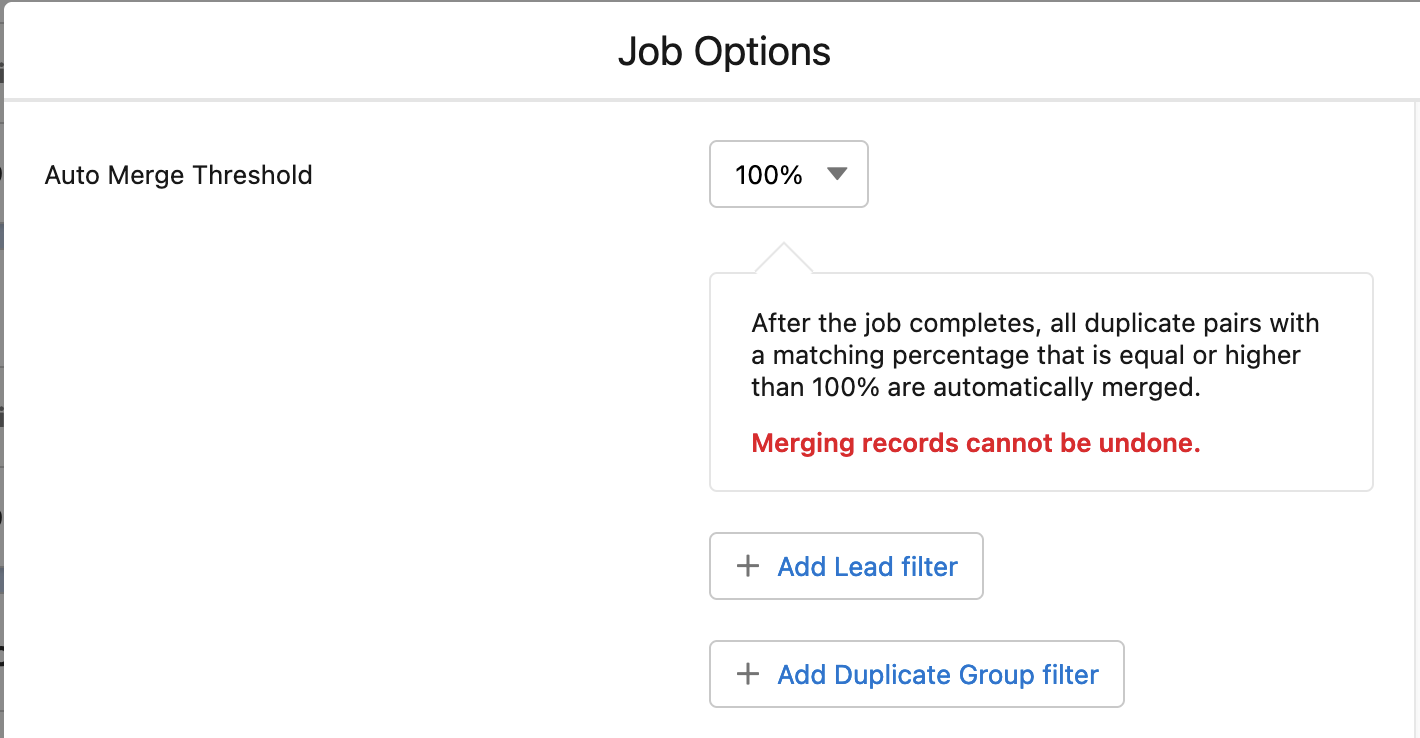
Object Filter for Auto Merge or Auto Convert
- Click + Add <Object> Filter to specify the records that can be auto merged or converted.
- At Filter, select a filter option.
- Use "Set Filter" to configure a one-time filter for auto merge or auto convert.
- Use "No Filter, Process all Records" to remove the filter option.
- If you see more filter options, then these are your Predefined Filters: reusable filters that you can use here as well. These need no further configuration, simply click to select one.
- To configure the filter, click + Add Filterline.
- Select a Field to filter on, and add an Operator and a Value.
- Click Done.
- For multiple filter lines, click + Add Filter Logic. (optional; without filter logic, operator AND is used for all filter lines)
Duplicate Group Filter for Auto Merge or Auto Convert
- Click + Add Duplicate Group Filter to specify the duplicate groups that can be auto merged or converted.
- At Filter, select a filter option.
- Use "Set Filter" to configure a one-time filter for auto merge or auto convert.
- Use "No Filter, Process all Records" to remove the filter option.
- To configure the filter, click + Add Filterline.
- Select a Field to filter on, and add an Operator and a Value.
For example, set the filter to "Group Record Count Equal To 2" to only merge or convert those groups that contain two records. - Click Done.
- For multiple filter lines, click + Add Filter Logic. (optional; without filter logic, operator AND is used for all filter lines)
Predefined Filters
If you often use the same filter, save time by saving it as a Predefined Filter in Deduplicate Setup.
Predefined filters in jobs always use the latest filter iteration. Say you have used a predefined filter in a job, and after running decide to run that job again; or you have used a predefined filter in a scheduled job. If at some point in the future that predefined filter is edited, the edited version of the filter will be used from then on in all future runs of a job.
