Once you have found duplicate records, you can merge them. When there are more than two duplicates, you can choose to merge some or all of them together into one record. The leading record, with the most correct data, is called the Master record.
When merging records manually, you can decide which data to keep. Usually this will be the data of the Master record, but you can also opt to keep some data of the other records instead. If none of the present information is correct, you can enter custom data as well.
Prerequisites
- You have the Duplicate Check User or Duplicate Check Admin role
Merging records
1. When you have located duplicate records, click Merge to merge them. For example,
- At the 'Duplicates Found' tab of a record:
- Click Merge
 to merge all found records with the initial record
 - Select one or more records and click Merge Selected Records
 to only merge the selected records with the initial record
- Click Merge
- After clicking 'View Results' at a completed DC Job:
- Click Merge Group
 to merge all records in a group with each other into one record
 - Select two or more records and click Merge Selected Records
 to only merge the selected records with each other into one record
- Click Merge Group
2. After clicking 'Merge', the merge view opens.
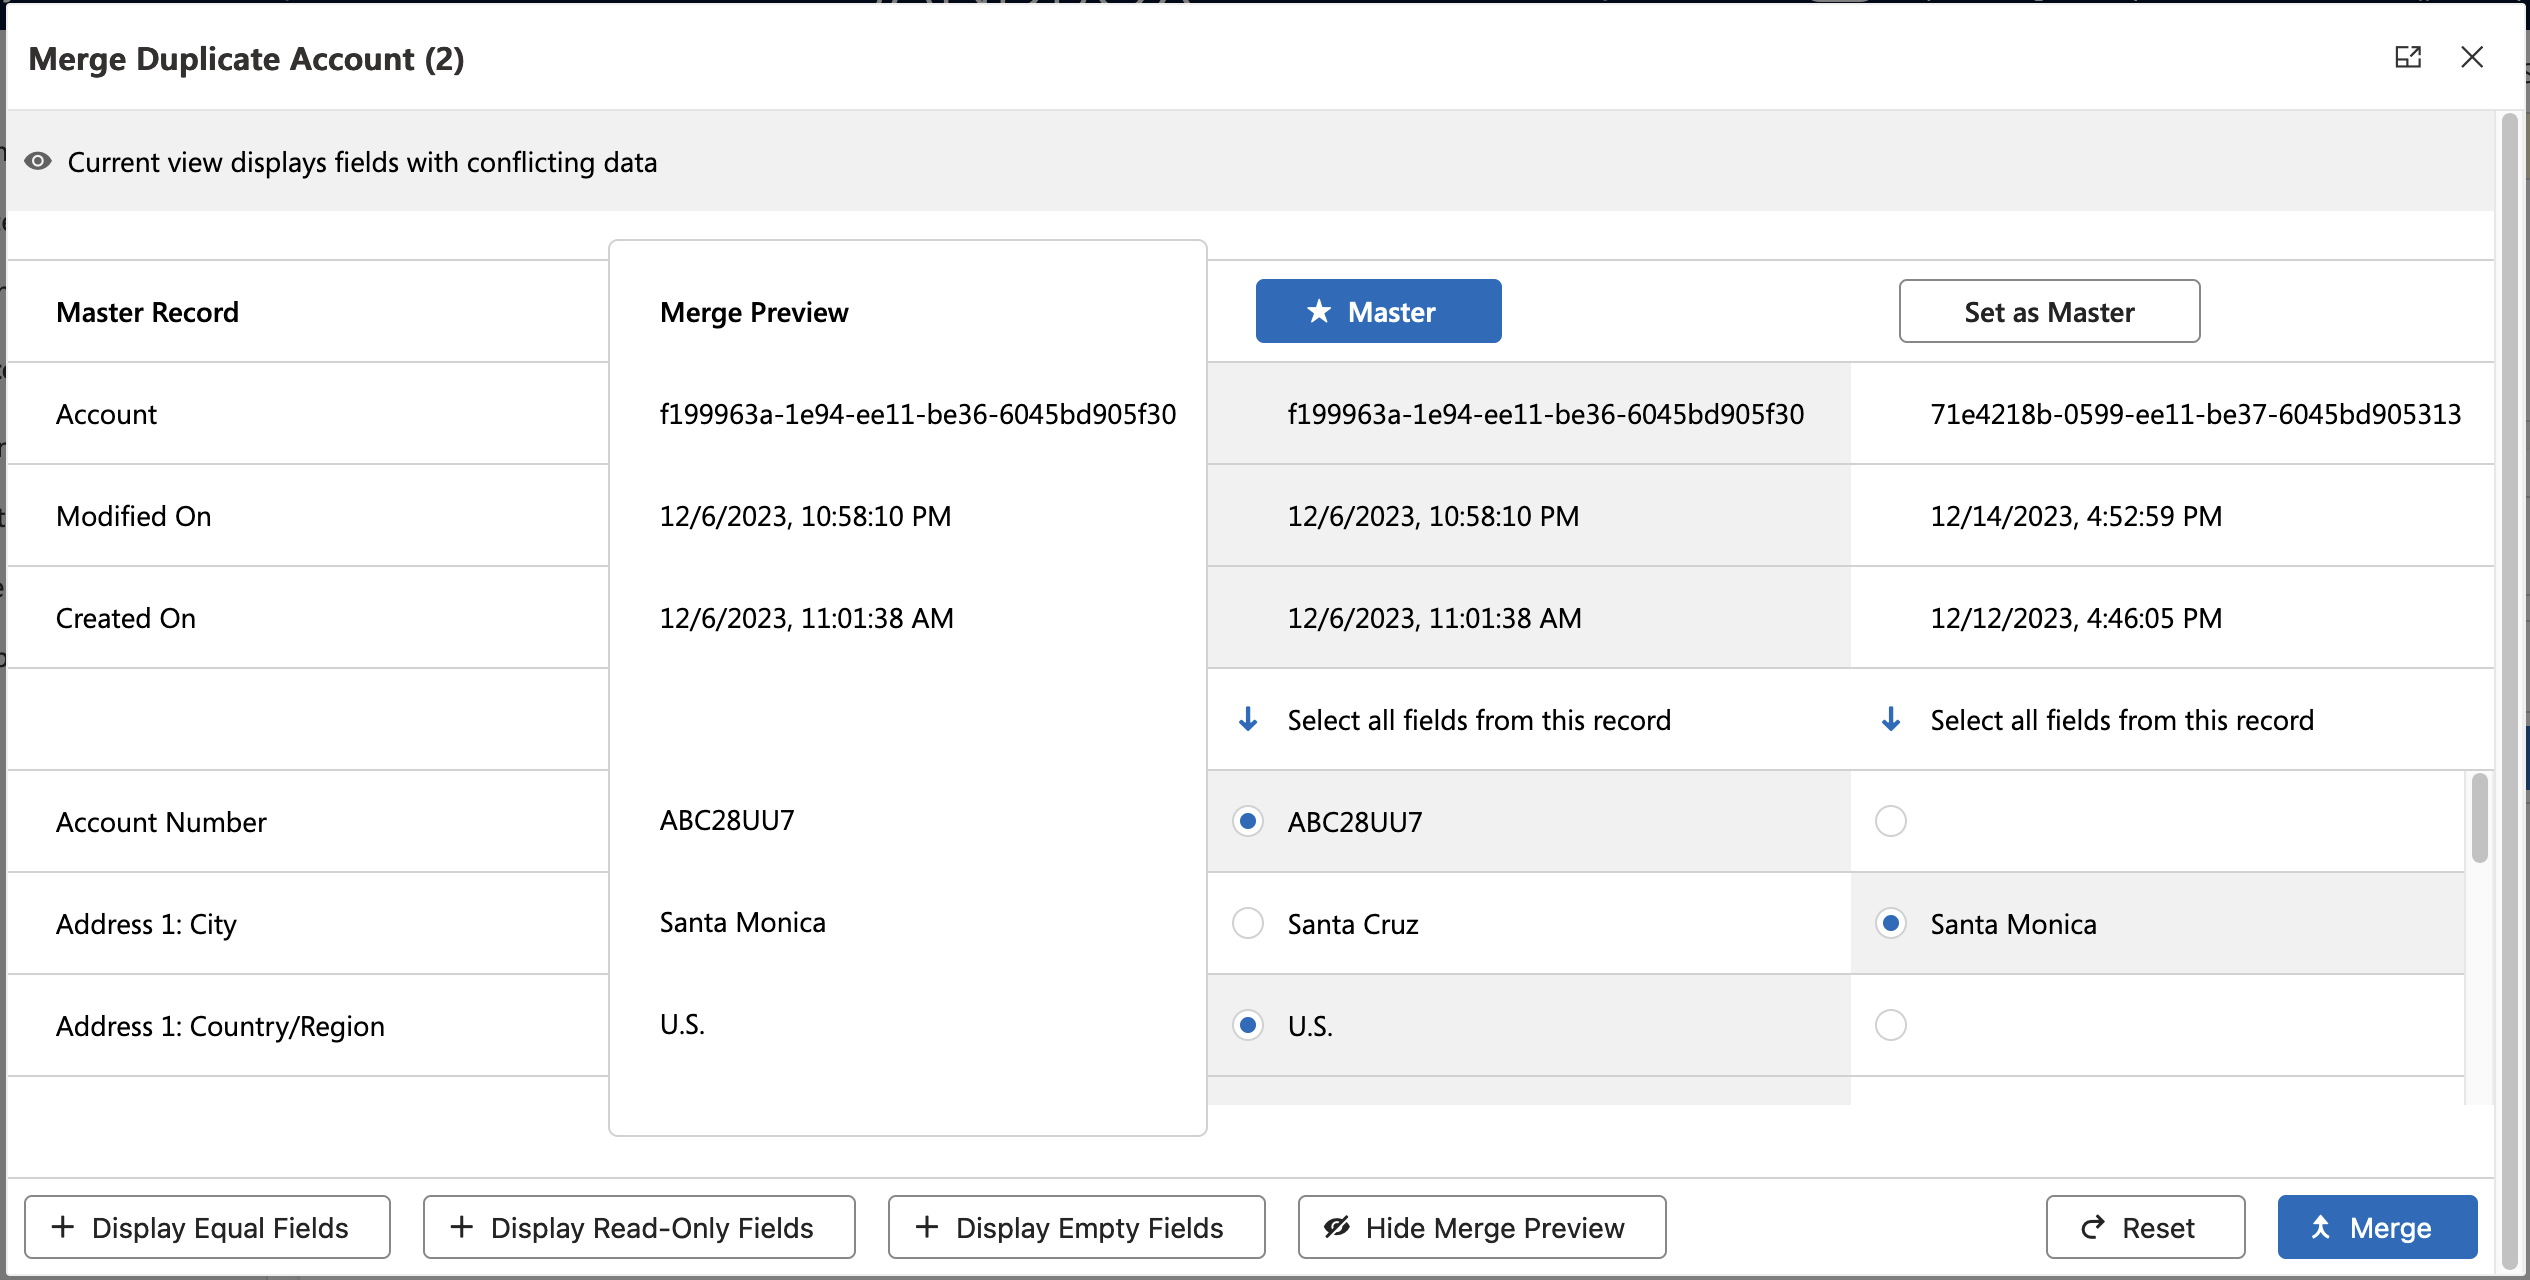
The fields that will be kept are highlighted. In the example above, most fields from the Master records are kept, but the City field of the other record will be used.
3. Scroll through the fields and decide which ones you want to keep. Then click Merge  to merge the records into the Master record.
After clicking Merge, the Merge progress window is shown. 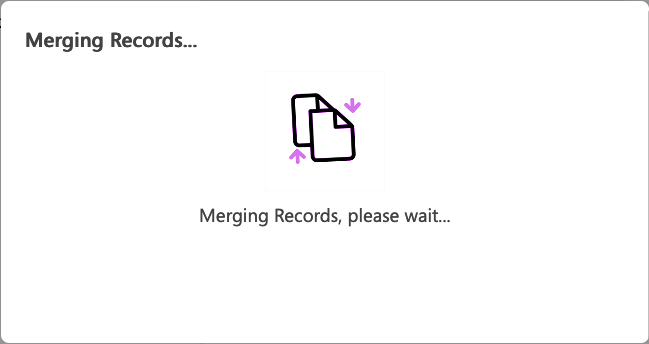
Once merging is finished, the Master record is shown. Depending on the Merge Settings, the loser records have been deactivated or deleted, and records that were related to the loser records have been reparented to the master record.
Merge View options
By default the merge view contains the Merge Preview, and only shows conflicting fields. You can show or hide fields and columns to make more clear what will be merged.
 
|
Show or hide fields that are equal to each other. |
 
|
Show or hide read-only fields. |
 
|
Show or hide empty fields. |
 
|
Show or hide the Merge Preview column. The Merge Preview shows which field data will be kept at merge. |
 |
Show the merge view in full screen mode. |
 |
Select all fields from this record to keep at merge. |
 |
By default, the last modified record is set as the Master record when merging records in a group. The Master record is the record that will be kept, but it can contain data from the other records. |
 |
Set this record to be the Master record. You can still select fields from the other records to keep. |
 |
Revert all fields back to the way they were before you started making changes. |
Note that fields of the types "formula" and "multi lookup" cannot be shown in the merge view.
Custom Entry
You can change the proposed values on any field except read-only fields, and enter a custom value instead. To do this, select the field in the Merge Preview column and click the Edit  icon that appears. The selected field will be highlighted, and a text bubble with an input field will appear on the right. Enter your value in the field and click Update. The custom field will be highlighted after editing, and its value will be kept in the merge.
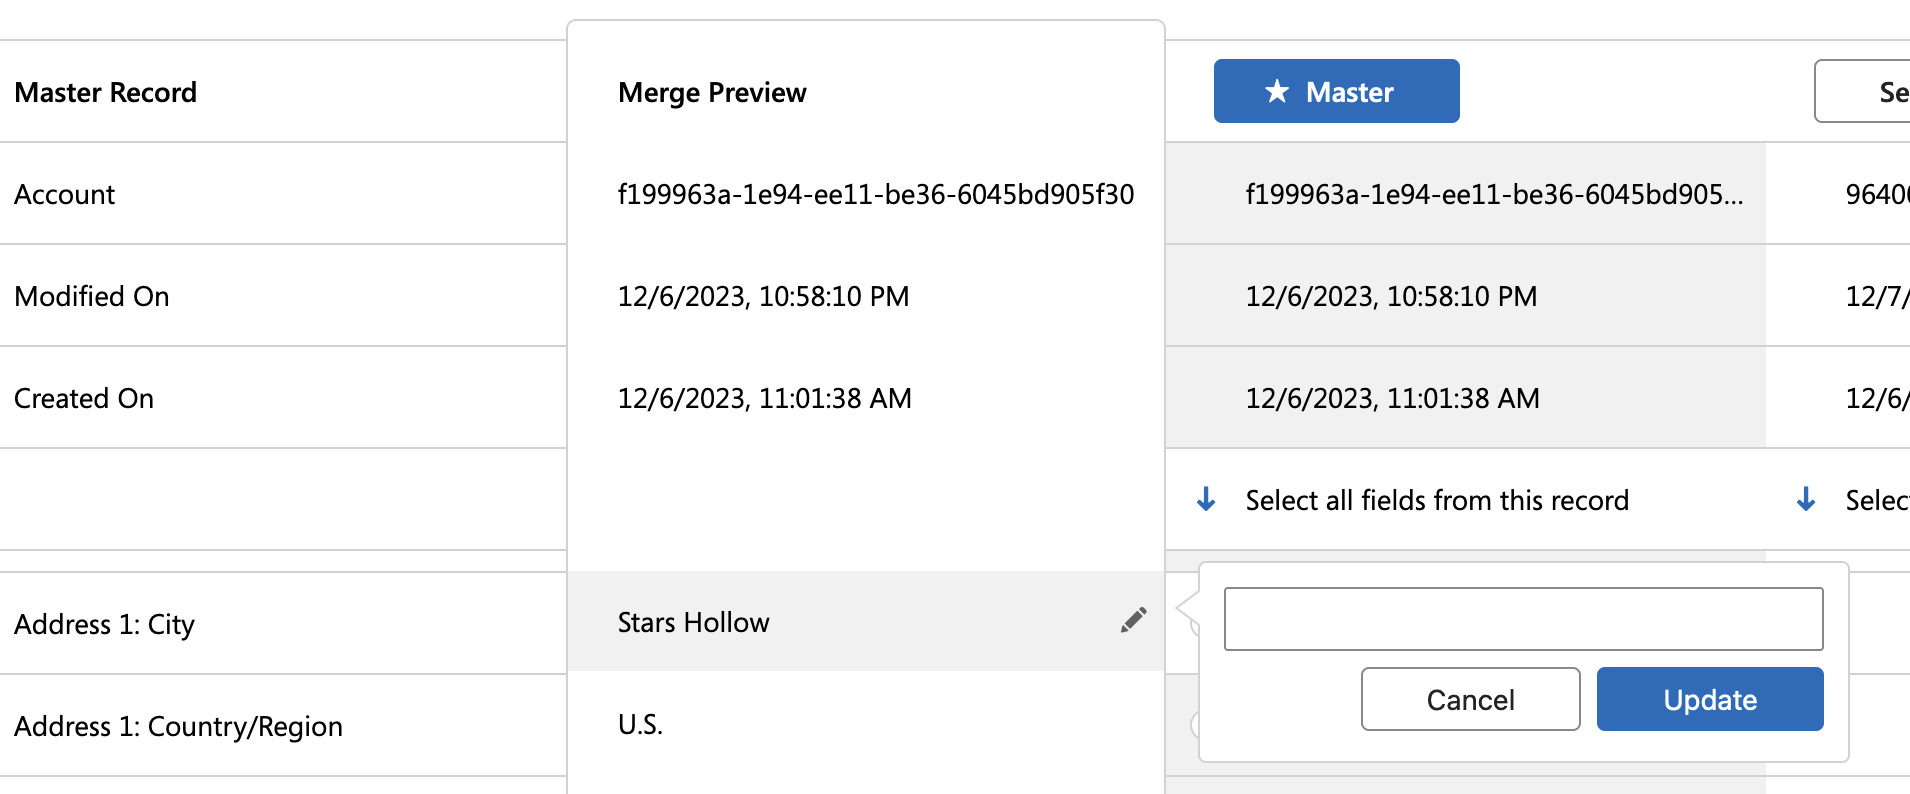
For security reasons, some fields such as fields of the Rich Text Area type cannot be edited here.
Merge Error
Sometimes records cannot be merged. A merge error will be shown. Copy the error to clipboard and download the merge report. Send both the copied error and the merge report to Plauti Support for analysis, we'll be happy to assist you in solving the error.
If the error mentions a relationship that you cannot or do not want to reparent, you can choose to ignore it in the Ignore Entity Relationship During Merge setting.
