1. Log in
- Start DC Local by double-clicking it in its installation folder.
- Select the platform you want to use. To start a job from your Dynamics 365 environment, select Run a Job for Microsoft Dynamics 365.
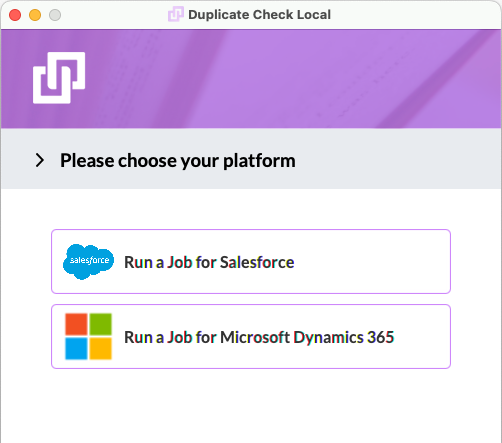
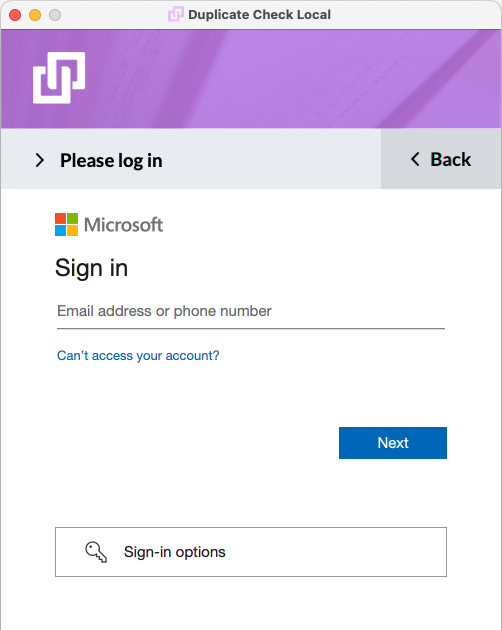
- Use your Dynamics 365 credentials to login into DC Local.
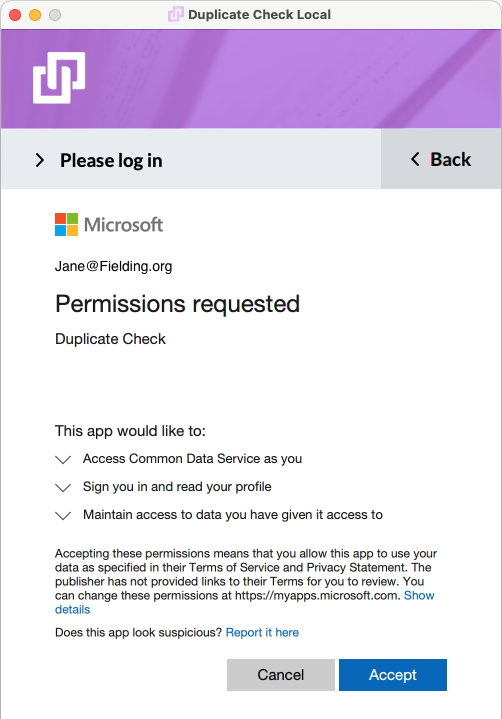
- Accept the requested permissions. Otherwise, DC Local won't work.
- Select your Cloud (environment type). If you do not know your cloud type, it most likely is 'Public Cloud (Default)'.
Then select your instance.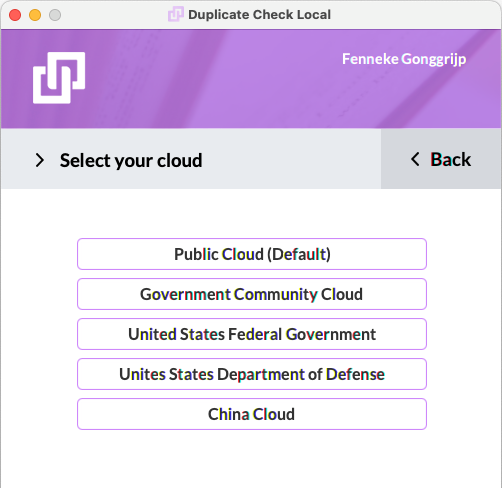
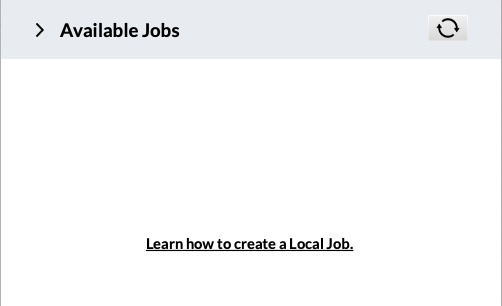
- Once logged in, you will see the DC Local Job selection page.
2. Send job to DC Local
If you don't see a job yet under Available Jobs, create one in Dynamics 365 first. Read more about creating a DC Job here.
- In your Dynamics 365 environment, in the Duplicate Check app, click Duplicate Check Job at left.
- In the Duplicate Check Jobs overview, click + Add New Job
 at top left.
 - Configure the job and click Next.
- At 'Processing Options', select DC Local.
- Click Start.
3. Find and run a job in DC Local
Now the created job will be visible in the DC Local 'Available Jobs' panel, ready to be processed. You might need to click the refresh  button at top right to see newly created jobs. You can send multiple jobs to DC Local.
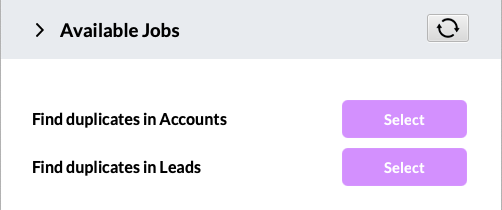
- Click Select
 at the job you want to run.
Its Job Details will appear.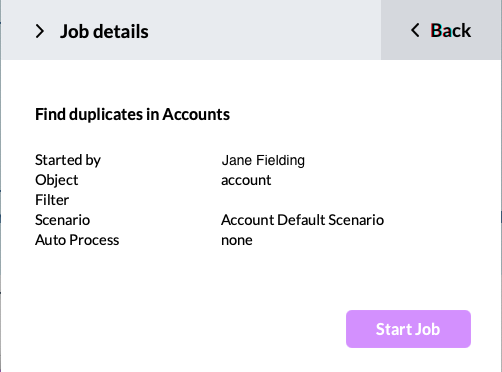
- Review the job details and click Start Job
 .
.
- When the job is finished, its status will show as 'Completed'. Click View Results
 to return to the DC Jobs overview page in Dynamics 365 and view the job results. From there you can choose further actions, such as merging the duplicate records.
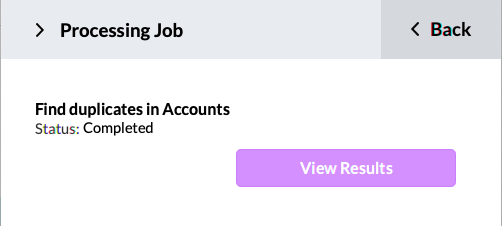
- In DC Local, you can now click Back
 and start another job, or just close the program.
