Version 11 introduces the ability to reference parent record fields in MatchRules. Previously to create rules based on cross-object fields you had to create formula fields on the record being assigned; now there is an intuitive rule builder that exposes parent records.
First, install version 11 as explained below. Then follow the post-upgrade instructions.
Install Version 11
Assuming you are an existing user of SuperRoundRobin...
→ If you are upgrading from a version prior to Version 10, follow the post-upgrade instructions in the upgrade guides for each of the earlier versions first before completing the steps below.
- Ask us to do a 'Push Upgrade'. Grant us Login Access and we will make sure everything is installed correctly; or...
- Install yourself:
- Install this pre-install patch first: https://login.salesforce.com/packaging/installPackage.apexp?p0=04t1t00000312dH
- Once the pre-install patch is installed and before installing Version 11, you must deactivate a validation rule on the MatchRule object: Go to Setup > Object Manager > MatchRule > Validation Rules and deactivate the rule named 'Field Must Be Of Right Object Type'
- Then get the latest Version 11 app by going to the SuperRoundRobin AppExchange Page and hit Get It Now
- Install for Admins Only
After upgrading to version 11, continue with the post-upgrade instructions below:
Post-upgrade Instructions
-
Purge Cache
Go to the Setup and Status tab, scroll down and click the red Purge Cache button. This ensures that Version 10 queries are squished.
-
Layout Changes
When packages are upgraded, certain layouts cannot be altered by the upgrade so you have to add new fields and related lists manually.
MatchGroup Page Layout Changes
- Go to Setup > Object Manager > MatchGroup > Page Layouts
- Select the MatchGroup Layout
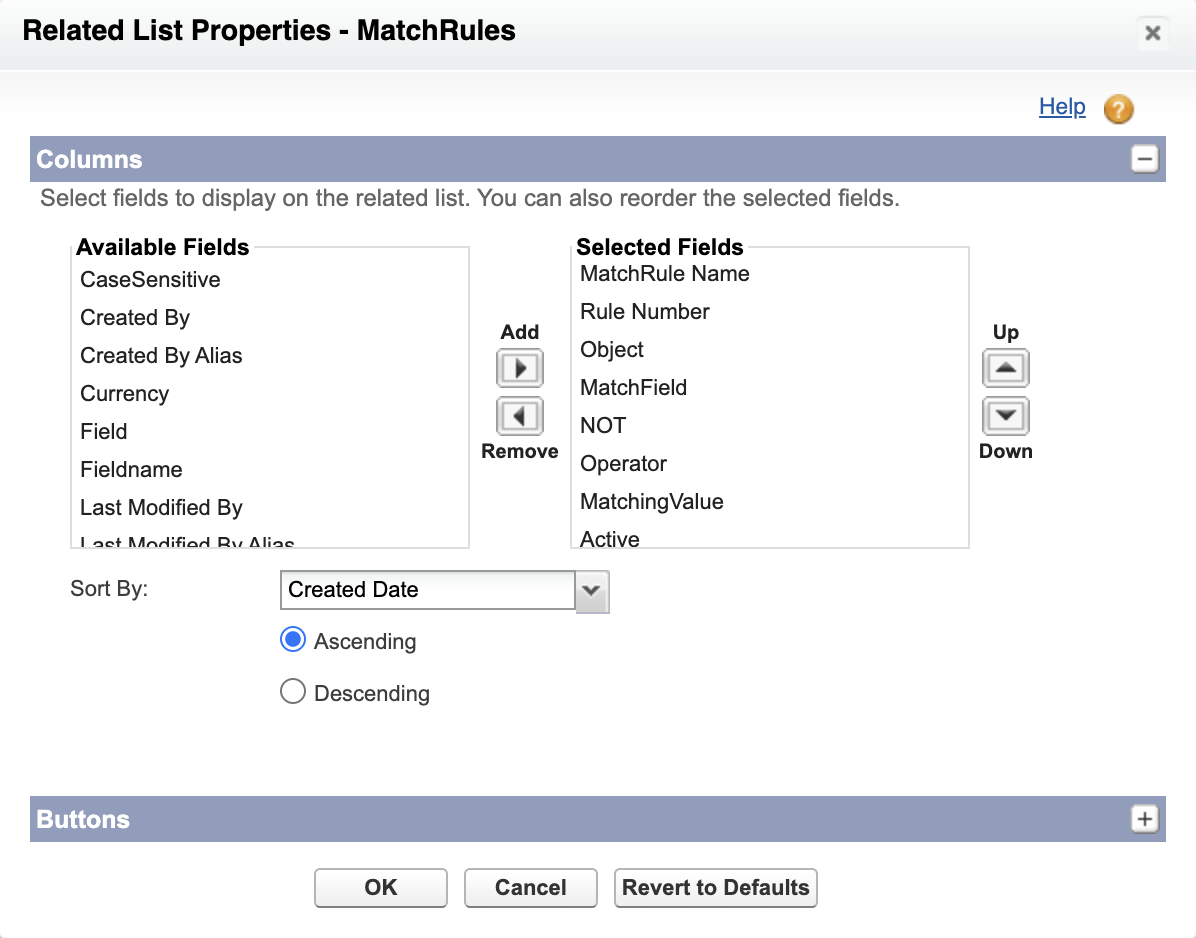
- Scroll down to the MatchRule Related List and click the spanner icon
- In the Columns section:
- Select Field from the right hand list and click the Remove < button
- Select MatchField from the left hand list and click the Add > button
- Select MatchField in the right hand list and move it up above NOT
- Select Object from the left hand list and click the Add > button
- Select Object in the right hand list and move it up above TheNewField
- In the Buttons section:
- Expand the Buttons section by clicking the + at the end of the row
- Deselect the New and Change Owner checkboxes
- Click OK to close that dialog and then Save the page layout